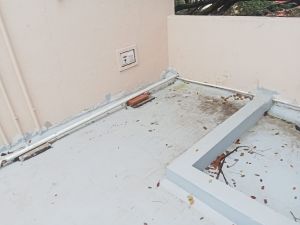
Steps to Bathroom Floor Waterproofing
Bathroom Floor Waterproofing Steps | UltraTech Cement
Bathroom floor waterproofing is a critical step in ensuring that your bathroom remains protected from water damage. By following these steps, you can ensure the longevity of your bathroom.
1. Prepare the bathroom for insulation
Before starting the actual bathroom or toilet waterproofing process, it is essential to prepare the bathroom properly. Remove any existing flooring and ensure that the surface is clean, dry, and free from any debris or contaminants before moving on to the next step.
2. Choose the right waterproofing material
Selecting the appropriate waterproofing material is critical for the success of your project. There are various options available in the market, such as waterproofing membranes, liquid waterproofing compounds, and cementitious coatings. Each has its advantages and application methods, so it's essential to choose a waterproofing coating that best suits your bathroom's needs and your skill level.
3. Prepare the surface with primer
Applying a primer is essential to ensure proper adhesion of the waterproofing material to the bathroom floor. The primer creates a bond between the surface and the waterproofing layer, increasing its effectiveness. Follow the manufacturer's instructions while applying the primer and allow it to dry completely before proceeding.
4. Sealing the joints
Steps For Waterproofing Bathroom Walls | UltraTech Cement
The joints between the floor and walls are vulnerable points where water can easily penetrate. You should use a waterproof sealant or tape to seal these joints thoroughly. It is necessary to pay special attention to corners and areas around drains or pipes, as they are common areas for water leakage.
5. Testing
After completing the bathroom waterproofing process, it's essential to perform a water test to ensure its effectiveness. Pour a significant amount of water on the bathroom floor and let it sit for some time. Check for any signs of leakage or seepage. If there are any issues, identify the problem areas and make necessary repairs before proceeding with the installation of tiles or other floor coverings.
How to Waterproof Bathroom Walls?
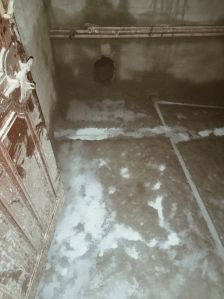
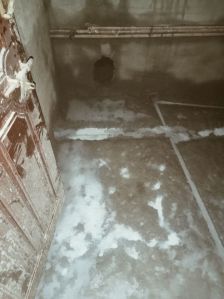
Fresh waterproofing of bathroom in apartment
Bathroom waterproofing is equally important as waterproofing the floor. Moisture from showers and baths can easily seep into the walls, leading to mildew growth, peeling paint, and structural damage. Follow these steps to effectively waterproof your bathroom walls:
1. Choose the right wall waterproofing material
Selecting the appropriate wall waterproofing material is crucial for a successful outcome. Waterproofing membranes are commonly used for this purpose, creating a barrier that prevents water from penetrating the walls. Ensure that the chosen material is suitable for the specific type of wall surface in your bathroom.
2. Prepare the surface with primer
Priming the wall with a roller. Workers primer with a paint roller to repair a ceiling wall before applying plaster for interior renovation work.
As with the floor, applying a primer is essential for wall waterproofing too. The primer improves the adhesion of the waterproofing material to the wall surface, enhancing its effectiveness. Clean the walls thoroughly and patch up any cracks or holes before applying the primer.
3. Apply waterproof paint
Waterproof paint is an additional layer of protection that can be applied over the waterproofing membrane. This paint acts as a secondary barrier against water and provides extra protection to the walls. Make sure to choose a high-quality waterproof paint specifically designed for bathroom use.
4. Testing
After completing the bathroom waterproofing process for the walls, perform a thorough testing procedure. Splash water on the walls and observe if any water seeps through. Pay attention to corners, edges, and areas around fixtures, as they are common weak points. If any leakage is detected, make necessary repairs and retest until the walls are entirely waterproof.
Read More »